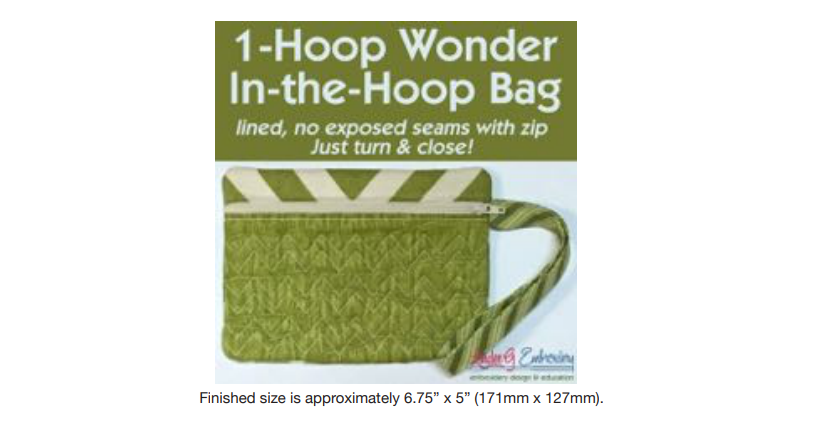
Detailed instructions and patterns are not included with individual design fle downloads. Please refer to the color sequence information for a basic guideline for stitching. You can print the design using any embroidery software to make a template. For a fully illustrated step-by-step tutorial formatted for printing along with actual size printable patterns, please purchase the full collection. Free instructions can be found in the following blog posts:
- One Hoop Wonder: An In-the-Hoop Zippered Accessory Bag
- How to Make a Quick & Easy ITH Mini-Zip Bag
- How to Customize A Basic In-the-Hoop Project to Make Your Own Designer Bag
HOW TO DETERMINE FABRIC SIZES FOR ANY BAG IN THIS SERIES
1. Using your embroidery software, print the design at the actual size. You’ll use this as a pattern to cut all your pieces.
2. If you don’t have any software, then stitch out color 1 on the cutaway to use as a template and add the same seam allowances.
3. I added an extra quarter inch to the sides and top and an extra half inch along the bottom for seam allowances. Precision cutting is not required, just don’t make them too small

4. The outer line is the initial placement line, and the final seam allowance is a mere 2mm inside this line so cutting them larger than I did for the photo sequence makes the final steps easier. The measurements listed here and shown on the cut-out pattern pieces to the right are sufficient and will work for the other bags that use this construction technique.
5. Batting may be cut slightly smaller than the placement lines to reduce bulk in seam allowances. Batting is only cut for the front pieces and as a single layer (not on the fold)
By the "Lindee G Embroidery" Team


